 Menu
Menu
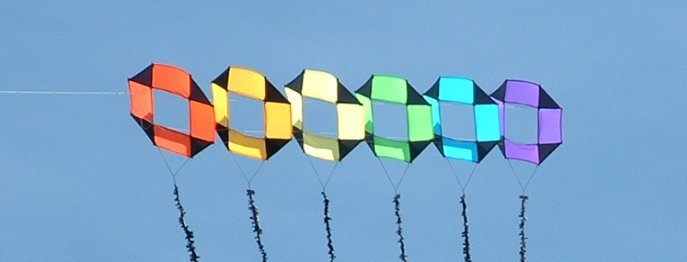
This pilot also makes a great single line kite on it's own of course, no doubt about that.
There isn't much difference in terms of construction as we did with the smaller version, just a few minor details apart from scaling it up.
The overall size is around 148cm square.

Pilot Template.
This suggestion is the way Harm van Veen describes it in the original publication.
Ok, perhaps I could have said that in the earlier stages, but I still believe that a rolled hem is better for the smaller version.
It reduces the weight and makes it easier to sew as you only have 3 layers in stead of 5.
If you look at Fig 3b, you will notice the few small differences we have to deal with in this stage.
First, the addition of the sleeves to hold the spars tightly on the sail.
You will need 4 strips of fabric 47 cm and 8 strips of fabric 10 cm. These are sewn on centered to the panels as in Fig 3b.

Pilot Template.
Use a zig zag stitch to sew the line on.
Add a couple of knots, figure 8 knots or overhand knots. These knots are for adjusting the tension of the sails. Next come the spars, I use glass tubes for these. They are all 152 long and are 9mm in diameter. You can go for Carbon spars or even doweling. The dowling should be of good quality without knots. Sitka Spruce is best but hard to come by. For wood, use the same diameter as for glass, if Carbon is used, drop the diameter to 8mm.
Place end caps on the spars that have a slot in them to accept the knotted line.
Steve sells these end caps and for a good price. Below is an image Fig 4b from the kite studio's catalogue that are best suited. You will need 8 pieces and perhaps a few spares just in case, besides they might come cheaper by the dozen, but don't take my word for it. I am sure Steve will help sort out these end caps for you to best suit your needs.

End Caps.
Bridling and Tails
Here's how Harm describes it:Two lines are used to connect P with R and Q with S. These lines are each 240 cm in length. They are joined together at about 8cm from the center of these lines by using a solid ring larks headed on. This towing point should fall right above the center of P and Q. See Fig 5b for clarity of your P's and Q's.

Bridle Info.
Quoted from the article:
Tails are 10 meters if you use a fuzzy tail or 18 meters if you use a tube tail. Both require about the same amount of fabric. The width for the tube tail including the seam is 30 cm and the width of the fuzzy strips are 28 cm.
Harm goes on to say that this kite can generate a lot of pull in stronger winds, so use a heavier line in these conditions.
I wish you the all best with your new kite and I hope you have enjoyed this workshop as much as I have enjoyed bringing it to you. I know I am a richer person for doing so, plenty of great feedback and new bits and pieces learnt along the way.