 Menu
Menu
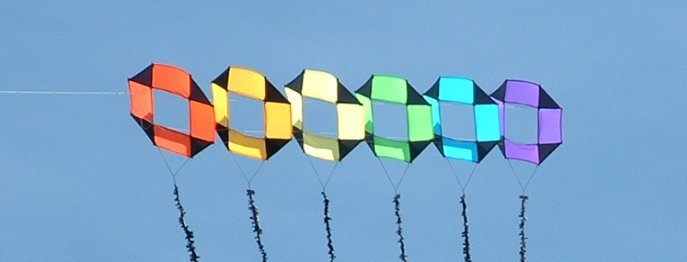
DIY Achtkant Train - Stage 1
Templates.
Once we have our design out of the way, lets make the templates we will need to cut those bits of fabric, Panel A and Panel B.
If you are planning a large number of kites in your train, I suggest you use something like MDF or some type of hardboard.
I have seen aluminium used as a medium for templates and will be extremely durable I admit, but will take more time to make.
If you want to stick to just the six kites, then good stiff cardboard will probably suffice as the material of choice for your templates.
NOTE: Copy the measurements exactly as in Fig-1 and proceed to build the templates.
Important to know is that all measurements in Fig-1 have a rolled hem totaling 2 cm included.
This is of importance when we get to the sewing stage.
Important to know is that all measurements in Fig-1 have a rolled hem totaling 2 cm included.
This is of importance when we get to the sewing stage.

Template Measurements.

Here is an image of the template A

Here is an image of the template B
NOTE: My camera made the edges look curved, but they are straight.
Please note that the edges have been sanded to prevent the fabric sticking to it.
Please note that the edges have been sanded to prevent the fabric sticking to it.
In stage 2 we will start to assemble the pieces once we have cut all of our panels. If you are making a more complex design, assemble the panels to the specifications first. No matter how complex your design, you should still have eight panels per kite.